

Key Takeaways
- A thorough evaluation follows five structured phases: ground-level drainage checks, interior attic audits, surface shingle mapping, penetration seal testing, and photographic reporting.
- Starting inside the attic reveals hidden decking moisture and nail uplift caused by wind gusts along the interstate corridor before stains ever reach your living room ceiling.
- Homeowners typically pay $75 to $200 for a basic visual check (often free with an estimate or storm claim) or $150 to $300 for a detailed walk-on report required for real estate closings or HOA approvals.
Need Roof Inspection in Calera?
If you're looking for help in Calera, visit our dedicated roof inspection page for local service details, project examples, and the next steps for your home.
How Our 5-Step Process Uncovers Hidden Roof Damage Across Shelby County
Homeowners often stand in the driveway after a heavy autumn rain, staring up at a dark water ring on the porch soffit that appeared overnight. They might clean out a handful of oak leaves from the downspout or dab caulk around a plumbing vent, assuming the drip is fixed. When the stain spreads after the next downpour, our crew climbs into the attic and traces the water trail up the rafters to a popped nail line and brittle underlayment several feet away from the visible spot. Surface guesses miss the actual entry point almost every time. Following a disciplined, five-step sequence for roof inspections in Calera removes the guesswork and shows you the exact state of your home from the structural decking up to the ridge cap.
As the southern gateway to the Birmingham metro area, this community features a wide mix of historic cottages and newer master-planned subdivisions. Evaluating both established properties and modern builds requires a systematic method rather than a quick glance from a ladder. While we covered the specific anatomical components we examine in our breakdown of key roof areas checked, the chronological workflow below explains how a licensed home builder executes the assessment on-site from start to finish.
1. Ground-Level Perimeter and Drainage Walk
Our first step on your property happens entirely on the ground, where we circle the perimeter to evaluate fascia alignment, soffit ventilation, and gutter discharge paths. Before anyone sets a ladder against your eaves, walking the yard reveals how water exits your roof planes and whether the underlying framing sits level.
During mid-fall, falling leaves frequently clog open troughs and force rainwater to back up under the starter course of shingles. We look for granules piling up at the bottom of your downspouts, which signals that your GAF architectural shingles are shedding their protective stone layer from thermal aging. If we notice rusted seams or sagging metal channels pulling away from the fascia board, we document the area so you can consider targeted gutter repair in Calera before winter moisture rots the wood rafter tails.
This perimeter check also establishes our safety plan and identifies architectural sightline distortions. A subtle dip in a ridge line or a bowed eave spotted from the street tells us exactly which rafters to scrutinize once we head inside.
2. Interior Attic and Structural Decking Audit
Checking the underside of your roof from inside the attic is the second step, allowing us to spot daylight penetration, wood rot, and ventilation bottlenecks. Skipping the attic is the biggest mistake a rush estimator can make, because shingles often hide severe structural deterioration happening right beneath them.
Properties situated near the open I-65 corridor can experience amplified straight-line winds that tug upward on roofing materials. Over time, this wind uplift slowly backs ring-shank nails out of the wood decking. Inside your attic, we shine high-lumen lights across the OSB or plywood sheathing to find rusted nail tips, dark water rings around roof penetrations, and compressed insulation.
- Daylight Checks: We turn off our headlamps around chimneys and valleys to see if pinholes of sunlight filter through shifted metal flashing.
- Moisture Mapping: We touch-test rafters and decking near plumbing vents to catch slow condensation drips before they soak through your drywall.
- Airflow Verification: We confirm that intake air from your soffit vents moves freely out through the ridge vent, preventing trapped heat from baking your shingles from below.
Expert Field Note from Justin Johnson: Across the hundreds of exterior projects we have completed across the Birmingham metro over the years, the most common hidden failure we find on ten-year-old roofs is a split neoprene collar on a plumbing soil stack. The rubber dries out in the intense summer heat, letting tiny amounts of rain slide down the PVC pipe into the attic insulation without ever leaving a mark on the bedroom ceiling below.
3. On-Roof Surface and Fastener Evaluation
Walking the roof slopes is the third phase, where our technicians physically test shingle pliability, sealant bond strength, and granule adhesion across every directional plane. South- and west-facing slopes absorb the brunt of Alabama's afternoon sun, causing those sections to age much faster than shaded northern facets.
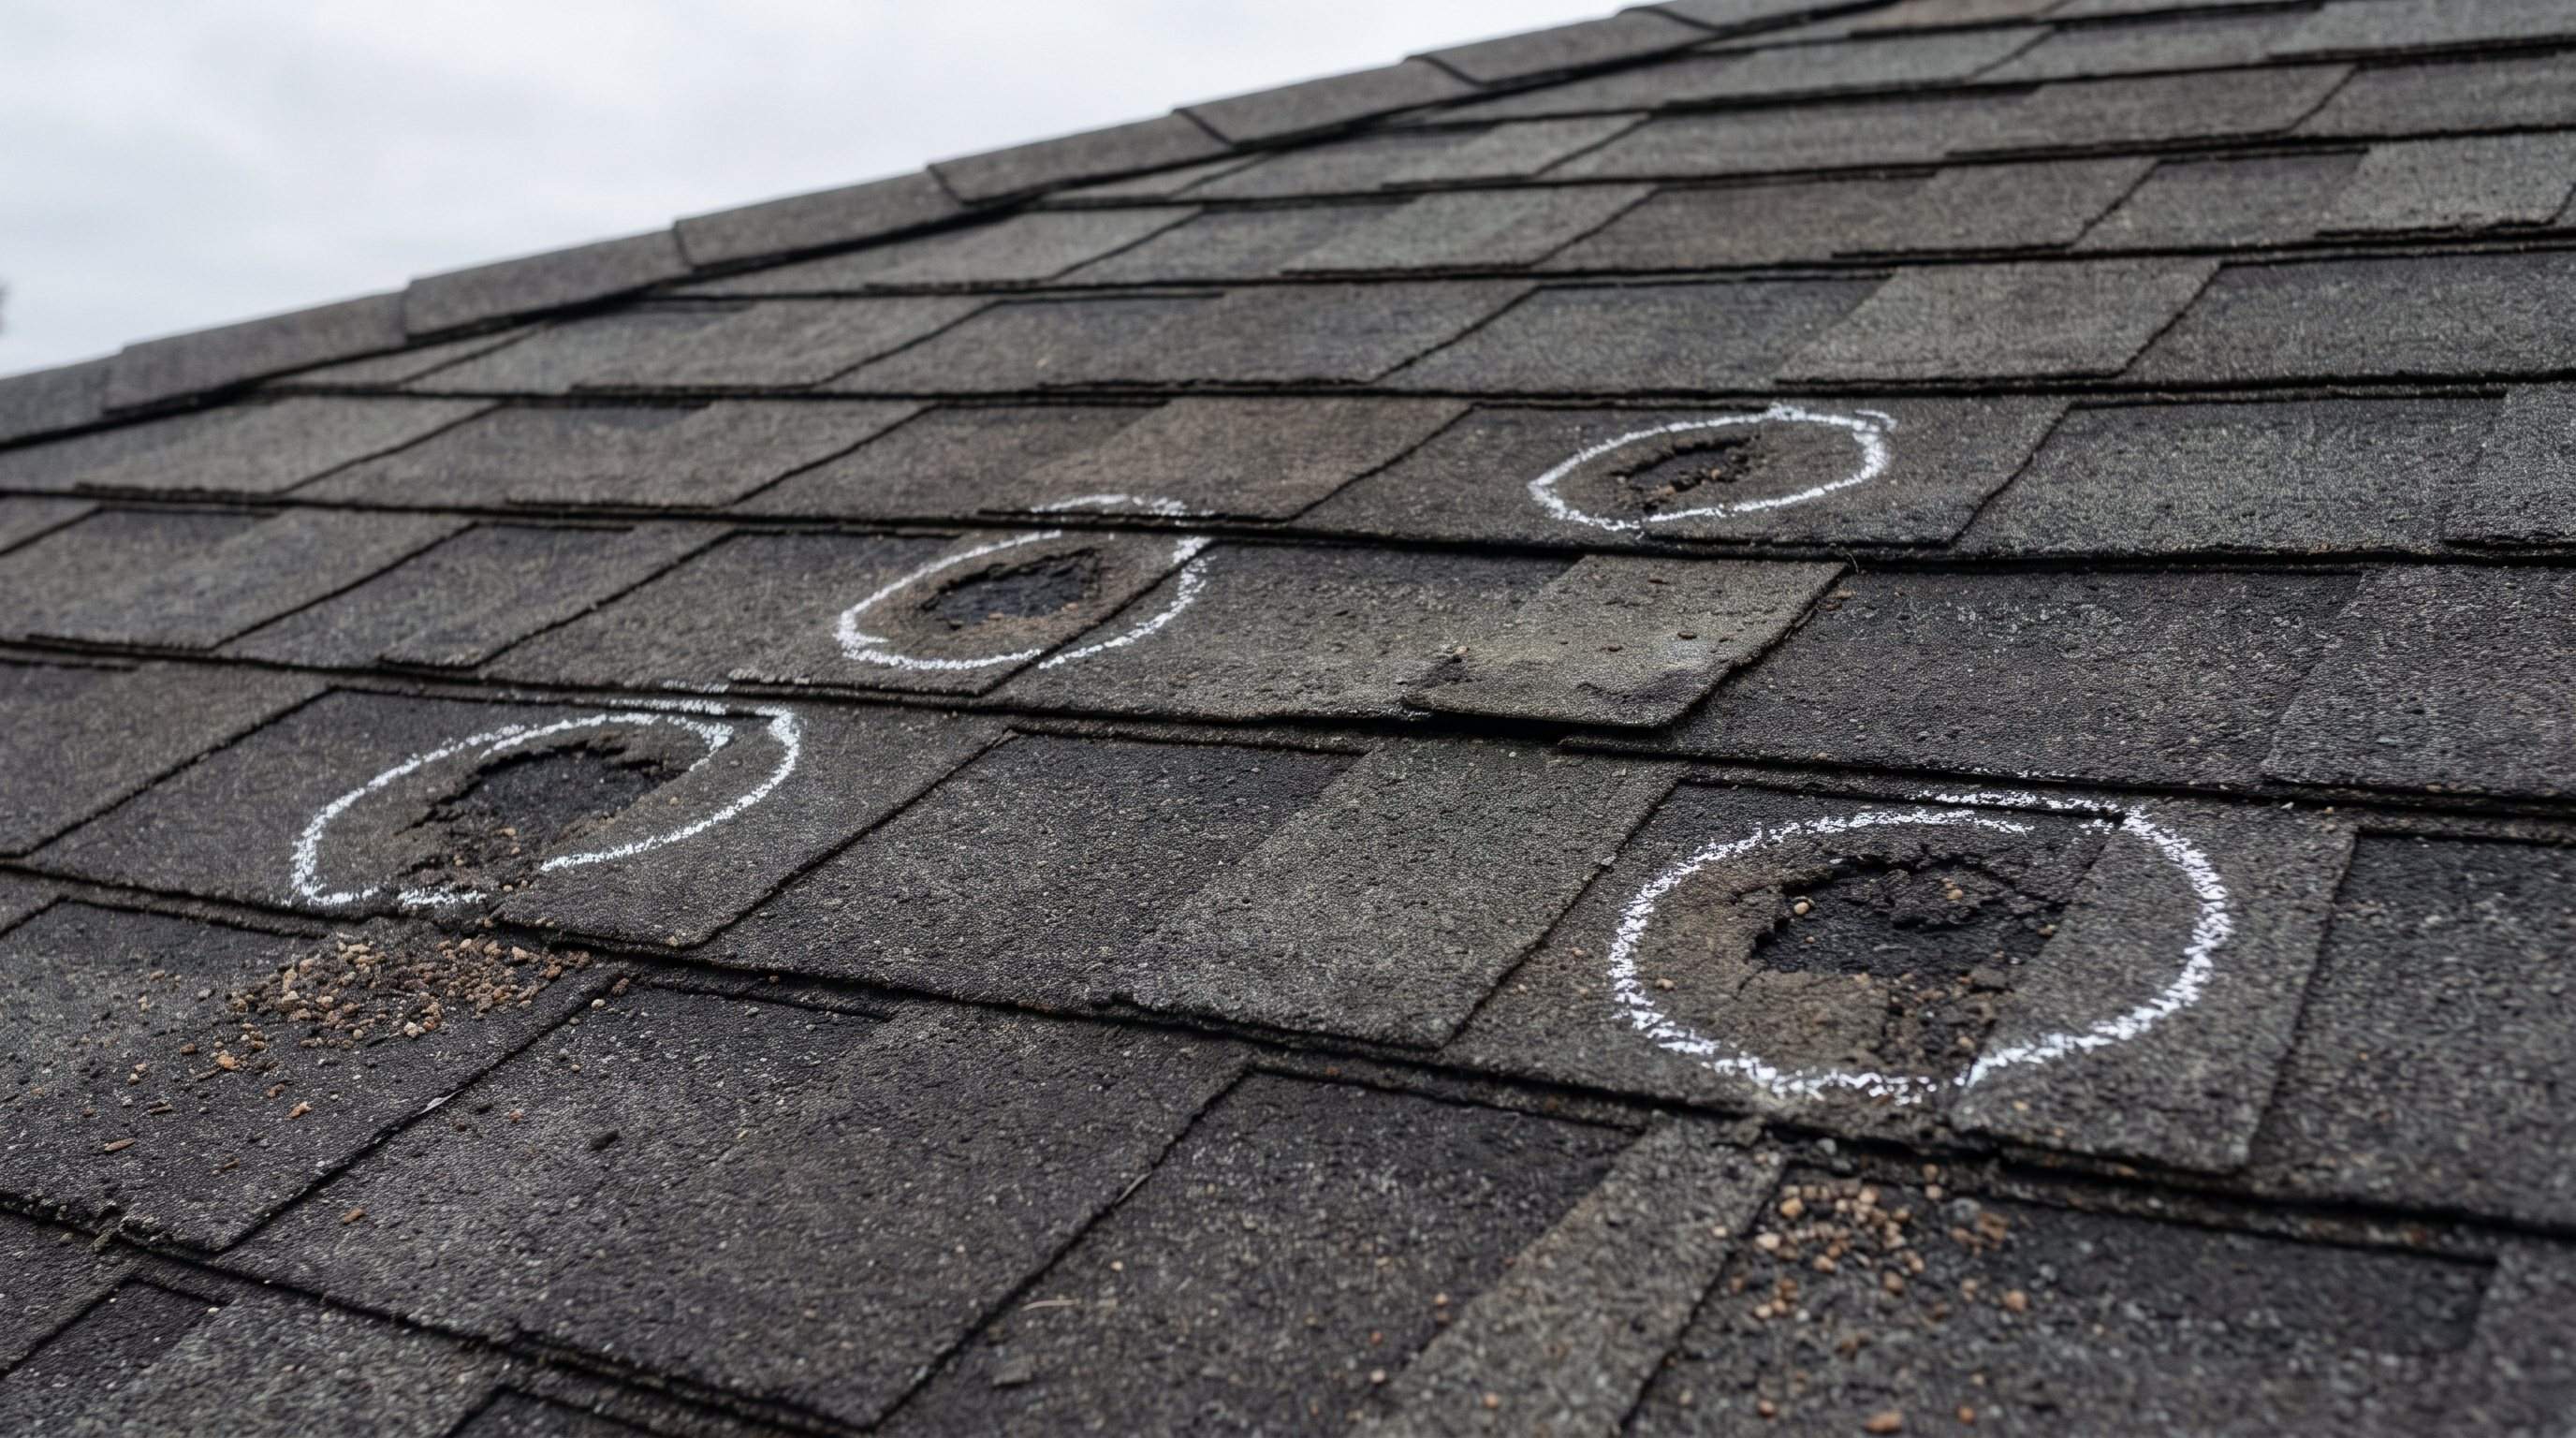
We gently check the edges of your shingles to see if the factory asphalt sealant strip still holds the tabs down tightly against wind gusts. When wind breaks that seal, tabs flap during storms, creasing the fiberglass mat until it snaps. We also distinguish between true hail impact and harmless heat blisters. Hail crushes granules deep into the mat in a random pattern, whereas heat blisters pop upward from trapped moisture and leave undamaged granules around the rim.
If we find isolated wind creases or a few blown-off tabs on an otherwise healthy system, we recommend straightforward roof repair in Calera rather than pushing for a premature tear-off. For homes with low-slope porch transitions or rear additions that cannot shed water fast enough for standard shingles, we also evaluate the membrane seams associated with flat roofing in Calera to check whether water pools at the tie-in wall.
4. Flashing, Valley, and Penetration Stress-Testing
Inspecting every metal transition, valley channel, and roof penetration is the fourth step, focusing on the exact joints where most residential leaks begin. Flat fields of shingles rarely leak on their own; water almost always enters where the roof changes direction or wraps around an obstacle.
Decades of summer heat followed by winter freezes force metal flashing and wood framing to expand and contract at different rates. This thermal movement cracks old roofing cement and pulls step flashing away from brick chimneys. Our crew checks every transition point by hand:
- Chimney Counter-Flashing: We verify that the metal is cut securely into the brick mortar joints rather than just glued flush to the masonry surface.
- Roof Valleys: We clear away matted autumn pine needles and oak leaves in the valleys to see whether water is damming sideways under the cut shingle edges.
- Pipe Boots and Exhaust Vents: We inspect every rubber boot, turbine vent, and bathroom exhaust hood for brittle flanges, exposed nail heads, and animal chew marks.
- Skylight Curbs: If your home includes natural light shafts, we check the upper saddle flashing and glass seals to see if you need minor skylight repair to keep condensation out.
5. Photographic Documentation and Action Plan
Compiling our high-resolution photos, measurements, and material notes into a clear written report is the fifth and final step of the process. You should never have to take a contractor's word for what is happening twenty feet above your driveway.
We sit down with you to review time-stamped photos of your ridge caps, pipe boots, and attic decking so you can see the exact condition of your system with your own eyes. Different homeowner situations require different levels of formal documentation, and our pricing reflects the equipment and reporting involved:
| Inspection Type | Typical Cost Range | Best For |
|---|---|---|
| Basic Visual Inspection | $75 to $200 (Free with an estimate or storm claim) | Routine annual checkups, spotting active leak sources, or verifying storm damage |
| Walk-On Inspection with Report | $150 to $300 | Real estate closings, HOA architectural review packets, and pre-storm insurance baselines |
| Drone / Infrared Inspection | $400 to $600 | Steep multi-story pitches, inaccessible valleys, or tracing hidden thermal moisture |
If your report shows that your GAF shingles have years of serviceable life remaining, we simply hand you the baseline file for your records and suggest seasonal roof maintenance in Calera to keep the seals tight. If the system has reached the end of its lifespan, we provide an honest, line-item quote and walk you through our flexible financing options so you can plan the investment on your own timeline without pressure.
Frequently Asked Questions
How long does a 5-step professional roof inspection take?
Time on-site depends on the size and pitch of your roof, and our inspector takes enough time to walk the perimeter, check the attic framing, examine every roof facet, and capture clear photographs without rushing through critical flashing details.
Do I need to be home during the roof inspection?
You only need to be home if you want us to complete Step 2 inside your attic, which we strongly recommend for a complete structural audit. If you only need an exterior surface check while you are at work, we can walk the roof and email the photographic report to you.
Can an inspection report help with HOA approval or selling my home?
Yes, a formal walk-on report provides the kind of documentation neighborhood architectural review boards and mortgage lenders often ask for. Having a certified builder verify the remaining lifespan of your shingles can keep last-minute negotiations from delaying your Shelby County closing.
Will getting a roof inspection after a windstorm force me to file an insurance claim?
No, an inspection is completely independent from your insurance company and simply gives you the facts about your property. Many times we find minor heat blistering or a few loose tabs that we can reseal on the spot, saving you from filing an unnecessary claim that would fall below your deductible.
Taking the First Step Before Winter Rains Arrive
Understanding the true health of your roof protects your family's biggest investment and prevents small seal failures from turning into major framing repairs. Step out into your yard today and look closely at the plumbing vent pipes sticking through your roof to see if the black rubber collars around the bases look cracked, crooked, or peeled back. If you spot split rubber around a pipe or dark granules collecting at the bottom of your downspouts, schedule our certified roof inspectors to walk your property and give you a straightforward, photo-backed baseline report.
Ready to stop researching and get real answers?
If this article helped you spot a roofing, siding, or gutter issue, the next step is simple. Get honest guidance, a professional inspection, and a clear plan from the Patriot Roofing team.
Justin Johnson
Owner / Licensed Home Builder
Justin is the Co-Owner of Patriot Roofing & Builders and a Licensed Alabama Home Builder. With extensive experience in high-performance exterior systems and storm restoration, he brings a hands-on, technical perspective to every project across the Greater Birmingham area.
More About UsYou Might Also Like
How Long Does a Roof Inspection Take in Gardendale, AL?